
Tools and Supplies to Make it:
- Sawgrass SG500 or SG1000 Printer
- Sawgrass VersiFlex Inks
- VersiFlex Light Paper
- Flat Heat Press
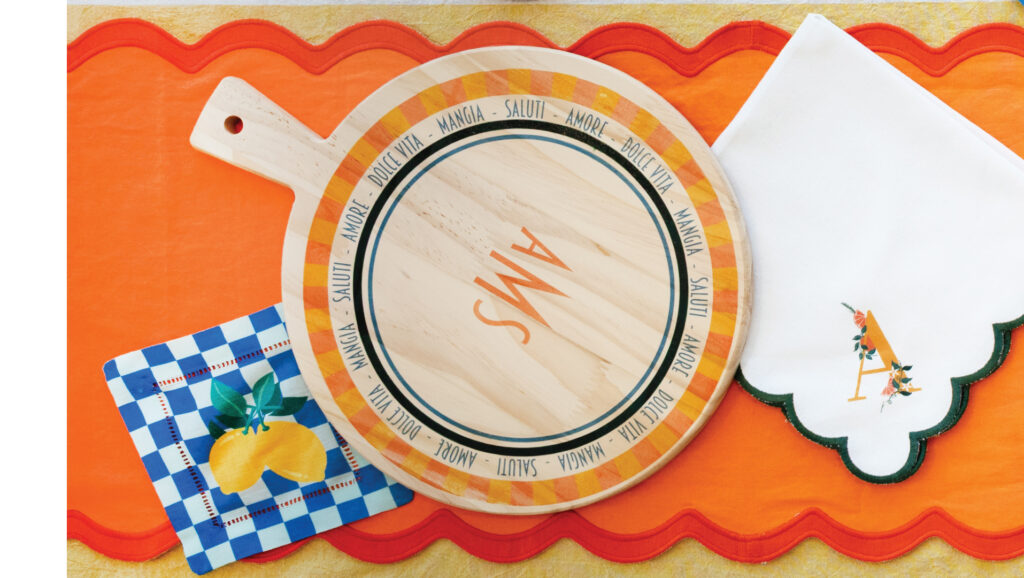
- Round Wooden Board
How to Make It:
- For this project, we are using a round wooden board we picked up at a local home decor store
- In the Sawgrass Print Utility, we chose Uncoated Wood for the product.
- We printed this on 11″x17″ VersiFlex Light paper
How to Press It:
- Turn on your press on and set the temperature to 375F (191C) degrees
- Place your board on the press and line the paper up on top as you place it on the product.
- Cover with blow out paper.
- Press the wood for 30 seconds at medium pressure.
- When finished, remove the board from the press and peel the paper off as quickly as possible.
Tips & Tricks:
- Because you do need to remove the paper from the product as quickly as possible after pressing, it is a good idea to have a paper tab that you can use when pulling the paper off. If your design does not completely cover the product, you can pinch an edge before pressing to give you something to quickly grab.
- This is another style of product where you can alter the size of the design to fit your printer and press. The only thing that changes is how much of the product is covered by the design.
Tools and Supplies to Make it:
- Sawgrass SG500 or SG1000 Printer
- Sawgrass VersiFlex Inks
- VersiFlex Light Paper
- Flat Heat Press
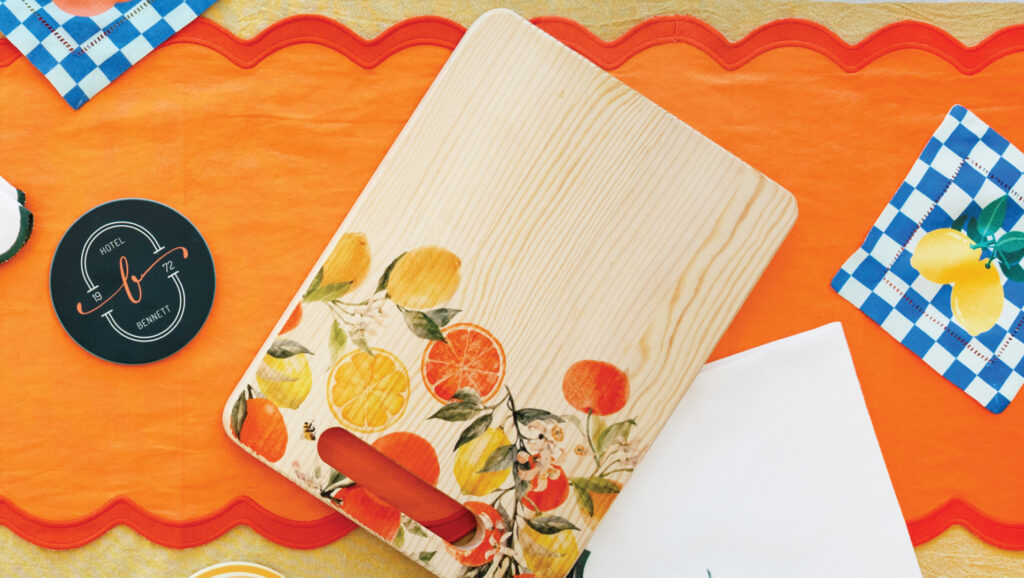
- Wooden Cutting Board
How to Make It:
- For this project, we are using a wooden cutting board we picked up at a local home decor store
- In the Sawgrass Print Utility, we chose Uncoated Wood for the product.
- We printed this on 11″x17″ VersiFlex Light paper
How to Press It:
- Turn on your press on and set the temperature to 375F (191C) degrees
- Place your board on the press and line the paper up on top as you place it on the product.
- Cover with blow out paper.
- Press the wood for 30 seconds at medium pressure.
- When finished, remove the board from the press and peel the paper off as quickly as possible.
Tips & Tricks:
- Because you do need to remove the paper from the product as quickly as possible after pressing, it is a good idea to have a paper tab that you can use when pulling the paper off. If your design does not completely cover the product, you can pinch an edge before pressing to give you something to quickly grab.
- Looking for Inspiration? There are many graphic elements in the MySawgrass design tool to recreate this or a similar design. Just measure your board and create a custom canvas to get started!
Tools and Supplies to Make it:
- Sawgrass SG500 or SG1000 Printer
- Sawgrass VersiFlex Inks
- TruPix Classic Paper
- Flat Heat Press
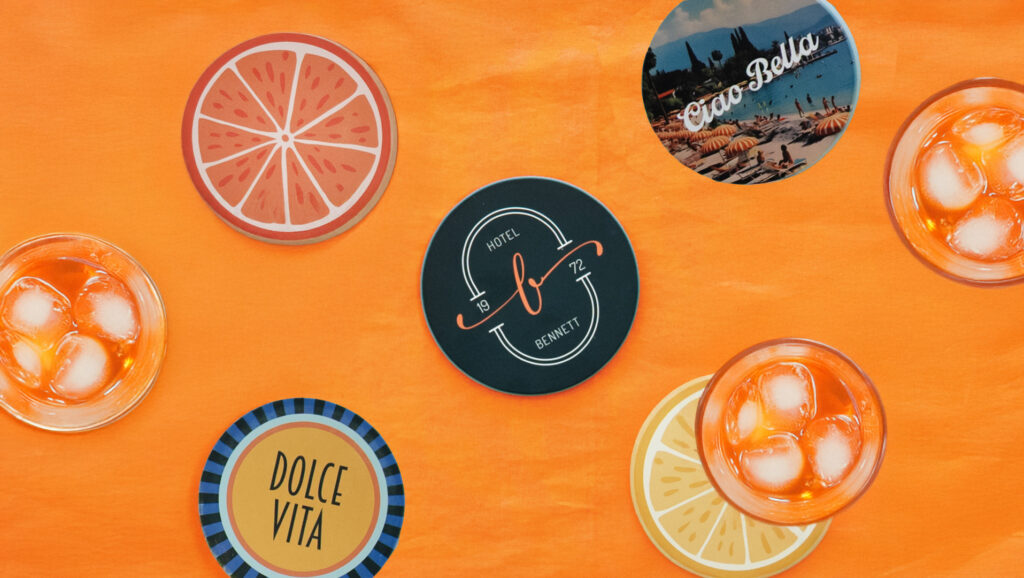
- Ceramic or Marble Coaster
How to Make It:
- For this project, we are using a sublimation coaster. Many of our dealers carry both the ceramic and marble varieties.
- In the Sawgrass Print Utility, we chose Ceramic for the product.
- We printed this on “8.5×11” TruePix Paper
How to Press It:
- Turn on your press on and set the temperature to 400F (191C) degrees
- Place your coaster on the press and line the paper up on top as you place it on the product.
- Cover with blow out paper.
- Press the coaster for 200 seconds at medium pressure.
- When finished, remove the coaster from the press and remove the sublimation transfer paper.
Tips & Tricks:
- Both ceramic and marble are materials that can crack in the press. Adding a silicone pad to the press can help protect your coaster during pressing.
- You can make the best use of your paper by putting multiple designs on one page in the Sawgrass Print Utility. Use the Design File area to add more than one design and space them apart on the page. You can also repeat a design if you are doing multiples of the same project.
Tools and Supplies to Make it:
- Sawgrass SG500 or SG1000 Printer
- Sawgrass VersiFlex Inks
- VersiFlex Light Paper
- Flat Heat Press
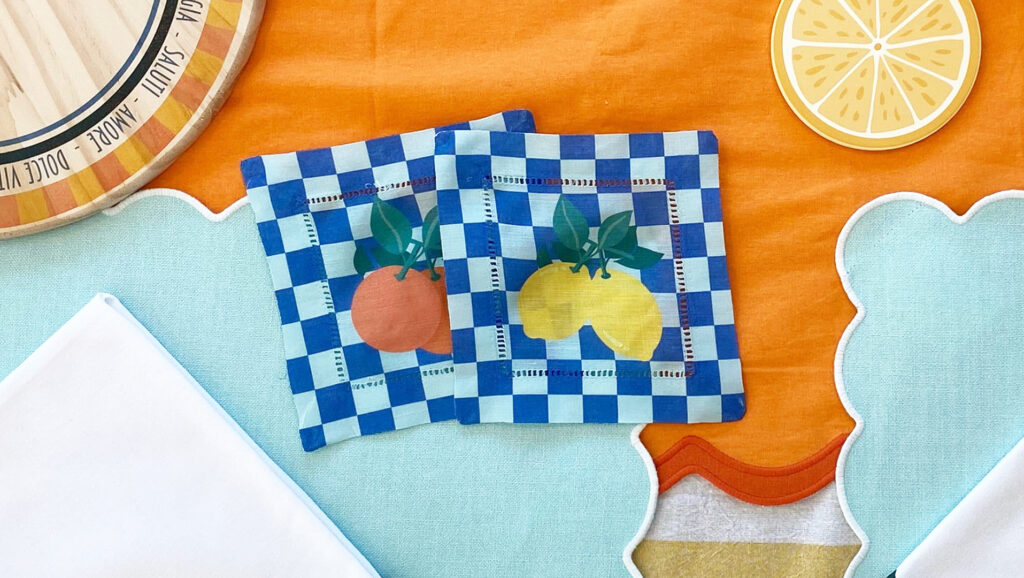
- Cotton Napkin
How to Make It:
- For this project, we are using a cotton napkin we picked up at a local home decor store
- In the Sawgrass Print Utility, we chose Natural Fabrics for the product.
- We printed this on 8.5″x 11″ VersiFlex Light paper
How to Press It:
- Turn on your press on and set the temperature to 375F (191C) degrees
- If you see any dust, lint roll your print area to make sure your surface is clean.
- Place your fabric on the press and line the paper up on top as you place it on the product.
- Cover with blow out paper.
- Press the fabric for 30 seconds at VERY HIGH pressure.
- When finished, remove the fabric from the press and peel the paper off as quickly as possible.
Tips & Tricks:
- With cotton fabric, pressure and temperature are very important. Use a heat gun to check the temperature of your press. For a smooth result, have the pressure on your press as high as possible.
- VersiFlex Light should be pressed onto your fabric as quickly as possible and needs to be peeled hot. With a product and design as small as this, you can probably do two on the same page, and press at the same time.
Tools and Supplies to Make it:
- Sawgrass SG500 or SG1000 Printer
- Sawgrass VersiFlex Inks
- VersiFlex Light Paper
- Flat Heat Press
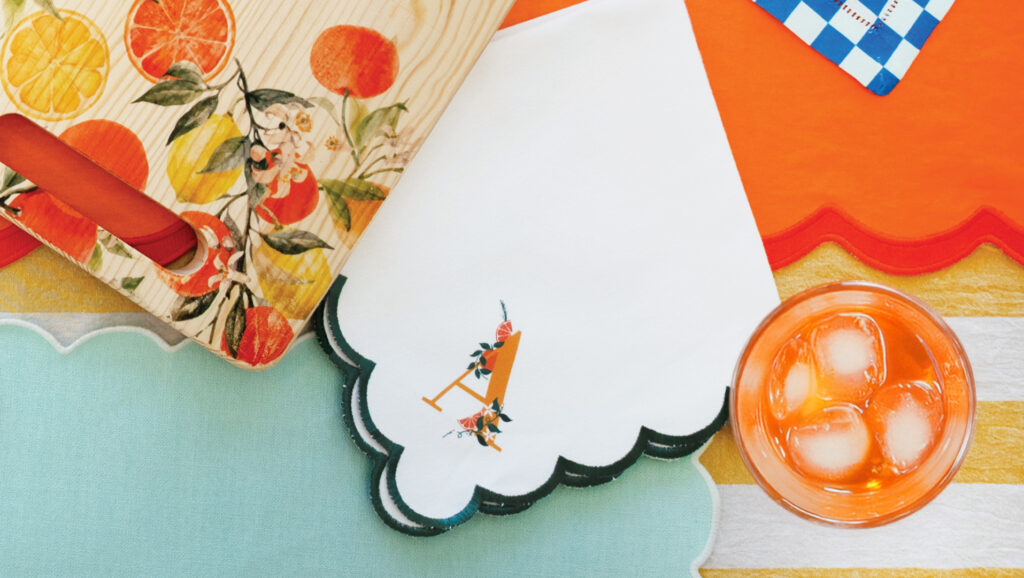
- Cotton and Linen Blend Napkin
How to Make It:
- For this project, we are using a cotton and linen blend beverage napkin we picked up at a local home decor store
- In the Sawgrass Print Utility, we chose Natural Fabrics for the product.
- We printed this on 8.5″x 11″ VersiFlex Light paper
How to Press It:
- Turn on your press on and set the temperature to 375F (191C) degrees
- If you see any dust, lint roll your print area to make sure your surface is clean.
- Place your fabric on the press and line the paper up on top as you place it on the product.
- Cover with blow out paper.
- Press the fabric for 30 seconds at VERY HIGH pressure.
- When finished, remove the fabric from the press and peel the paper off as quickly as possible.
Tips & Tricks:
- With cotton fabric, pressure and temperature are very important. Use a heat gun to check the temperature of your press. For a smooth result, have the pressure on your press as high as possible.
- Looking for inspiration? A similar design to these can be made using the graphic elements and background patterns you find in your MySawgrass design tool.
Tools and Supplies to Make it:
- Sawgrass SG500 or SG1000 Printer
- Sawgrass VersiFlex Inks
- VersiFlex Light Paper
- Flat Heat Press
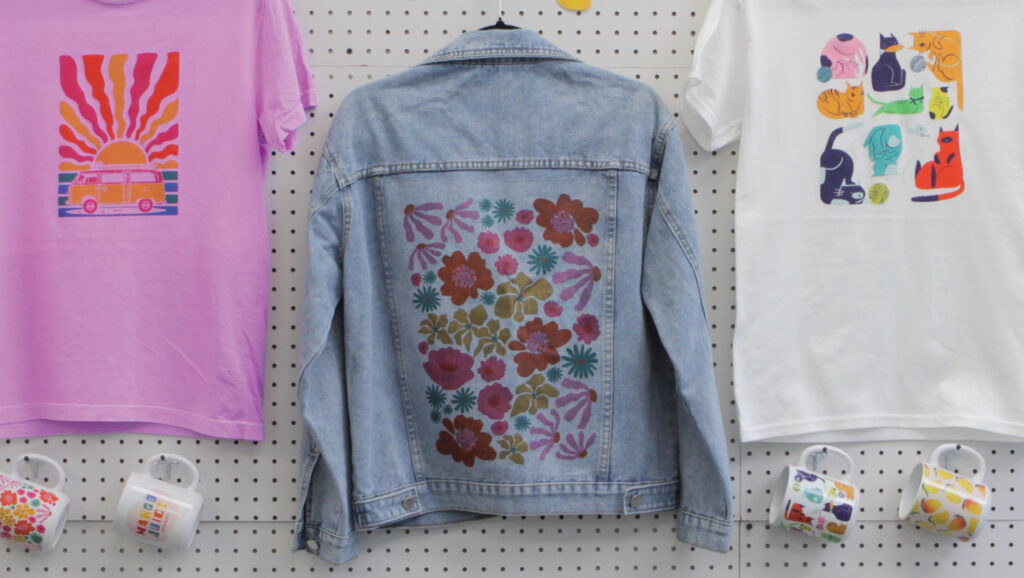
- Denim Jacket
How to Make It:
- For this project, we are using a denim fabric we picked up at a local clothing store
- In the Sawgrass Print Utility, we chose Natural Fabrics for the product.
- We printed this on 11″x 17″ VersiFlex Light paper
How to Press It:
- Turn on your press on and set the temperature to 375F (191C) degrees
- If you see any dust, lint roll your print area to make sure your surface is clean.
- Place your fabric on the press and line the paper up on top as you place it on the product.
- Cover with blow out paper.
- Press the fabric for 30 seconds at VERY HIGH pressure.
- When finished, remove the fabric from the press and peel the paper off as quickly as possible.
Tips & Tricks:
- This design is larger and works well with 11″x17″ or 13″x19″ paper on an SG1000 printer. But, you can adjust your design to fit smaller paper and your SG500 printer.
- Pressing always works best on a flat surface. Try to have only the even panel of the jacket in the press to get the best results. You can also use a pressing pillow to help create the best results.
Tools and Supplies to Make it:
- Sawgrass SG500 or SG1000 Printer
- Sawgrass VersiFlex Inks
- VersiFlex Light Paper
- Flat Heat Press
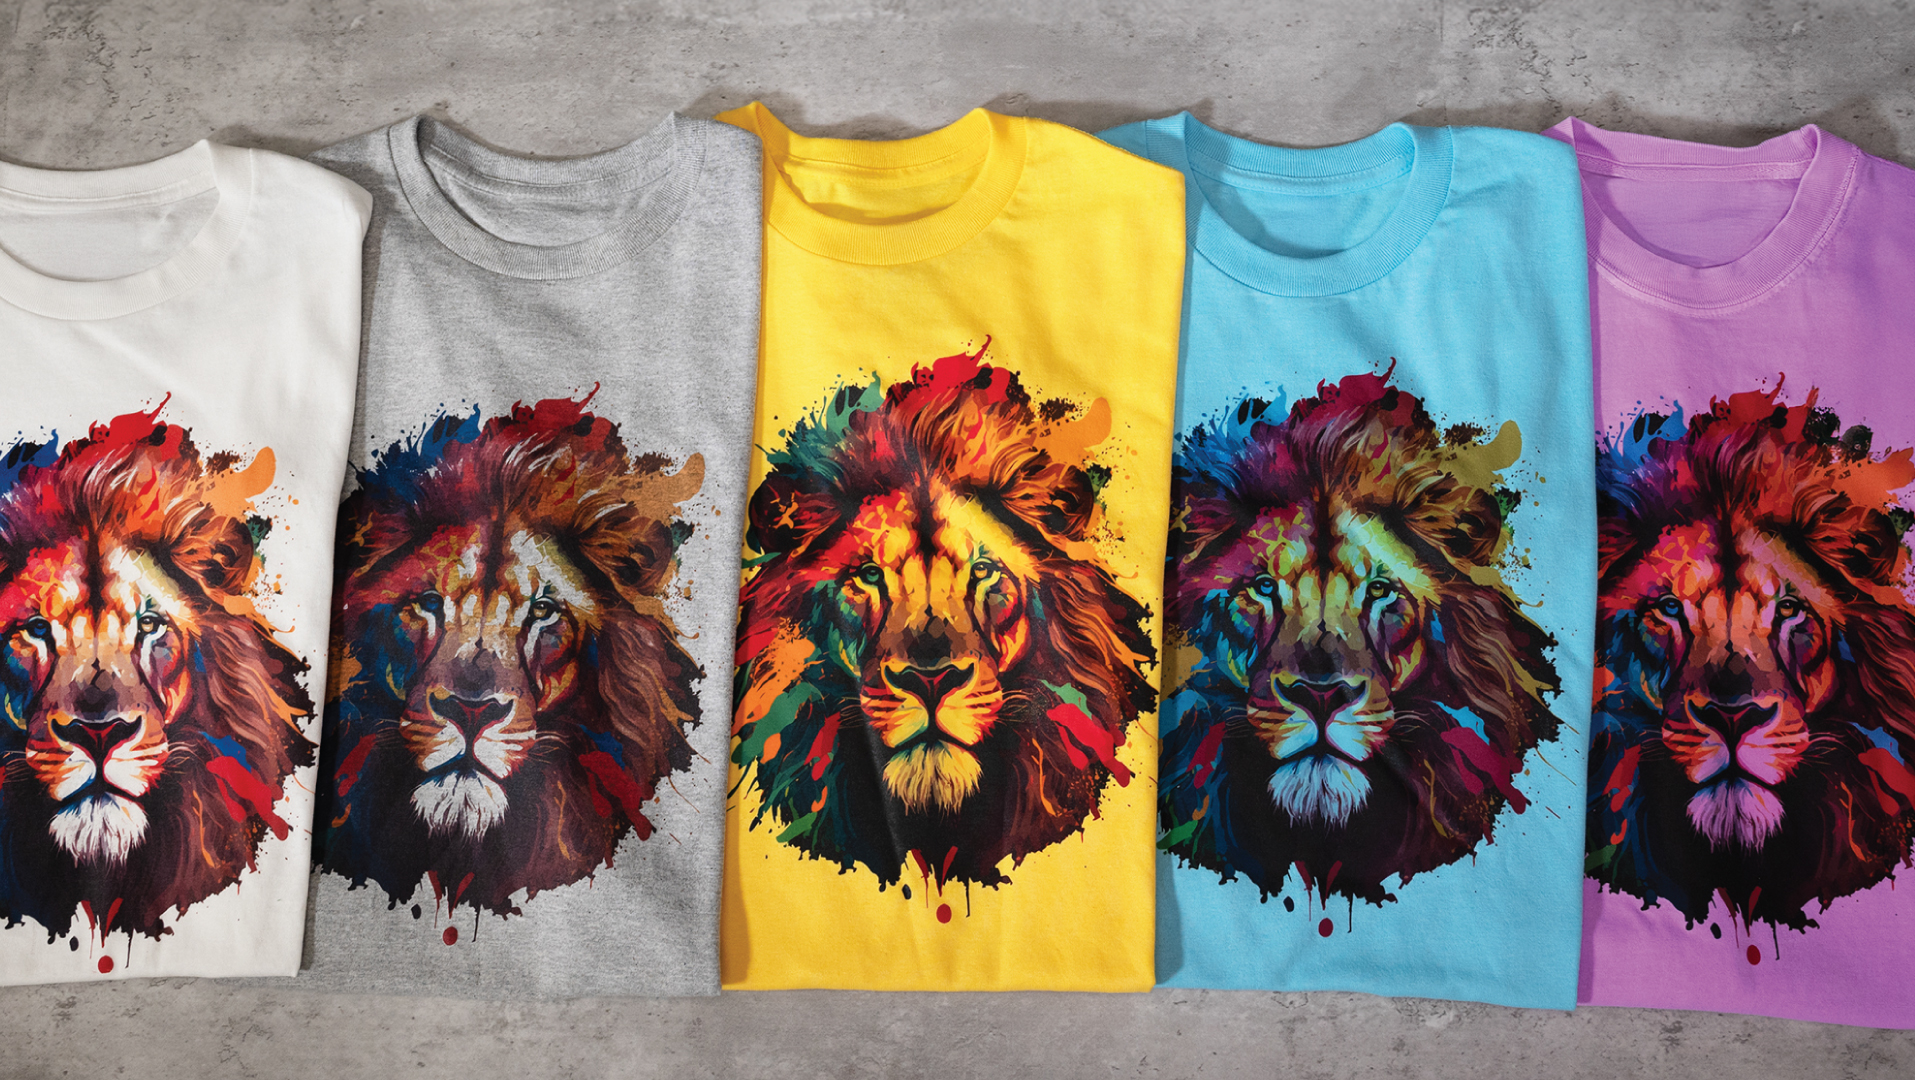
- Cotton T-Shirt
How to Make It:
- For this project, we are using cotton t-shirts we picked up at a local craft store
- In the Sawgrass Print Utility, we chose Natural Fabrics for the product.
- We printed this on 8.5″x 11″ VersiFlex Light paper
How to Press It:
- Turn on your press on and set the temperature to 375F (191C) degrees
- If you see any dust, lint roll your print area to make sure your surface is clean.
- Place your fabric on the press and line the paper up on top as you place it on the product.
- Cover with blow out paper.
- Press the fabric for 30 seconds at VERY HIGH pressure.
- When finished, remove the fabric from the press and peel the paper off as quickly as possible.
Tips & Tricks:
- Your Time, Temperature, and Pressure are important for pressing onto Cotton. You will want your pressure to be as high as possible. If you cannot get the pressure high enough, you can increase your time and temperature.
- Removing the VersiFlex Light paper should be done as soon as the press is complete. The peel is similar to removing a sticker from the page, you want to do a peel close to the surface and keep it slow and steady. If it is too hard to remove, increase your pressure or time and temperature.
Tools and Supplies to Make it:
- Sawgrass SG500 or SG1000 Printer
- Sawgrass VersiFlex Inks
- VersiFlex Light Paper
- Flat Heat Press
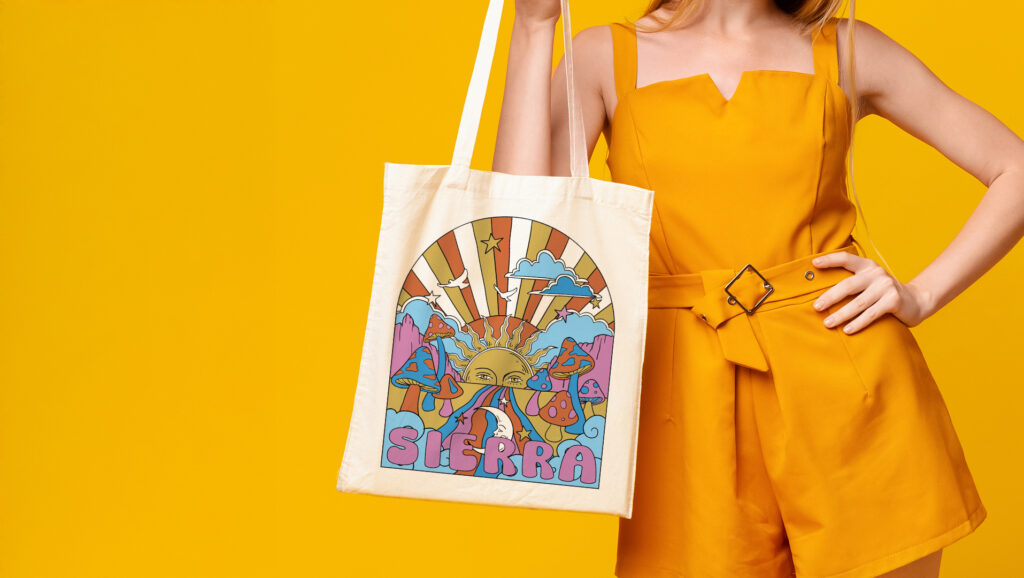
- Cotton Tote
How to Make It:
- For this project, we are using cotton t-shirts we picked up at a local craft store
- In the Sawgrass Print Utility, we chose Natural Fabrics for the product.
- We printed this on 8.5″x 11″ VersiFlex Light paper
How to Press It:
- Turn on your press on and set the temperature to 375F (191C) degrees
- If you see any dust, lint roll your print area to make sure your surface is clean.
- Place your fabric on the press and line the paper up on top as you place it on the product.
- Cover with blow out paper.
- Press the fabric for 30 seconds at VERY HIGH pressure.
- When finished, remove the fabric from the press and peel the paper off as quickly as possible.
Tips & Tricks:
- Pressing works best when the surface is as flat as possible. When possible, keep seams, hems, and handles outside of the press area. Not possible? Add a pressing pillow to create an even surface.
- Removing the VersiFlex Light paper should be done as soon as the press is complete. The peel is similar to removing a sticker from the page, you want to do a peel close to the surface and keep it slow and steady. If it is too hard to remove, increase your pressure or time and temperature.
Tools and Supplies to Make it:
- Sawgrass SG500 or SG1000 Printer
- Sawgrass VersiFlex Inks
- VersiFlex Light Paper
- Flat Heat Press
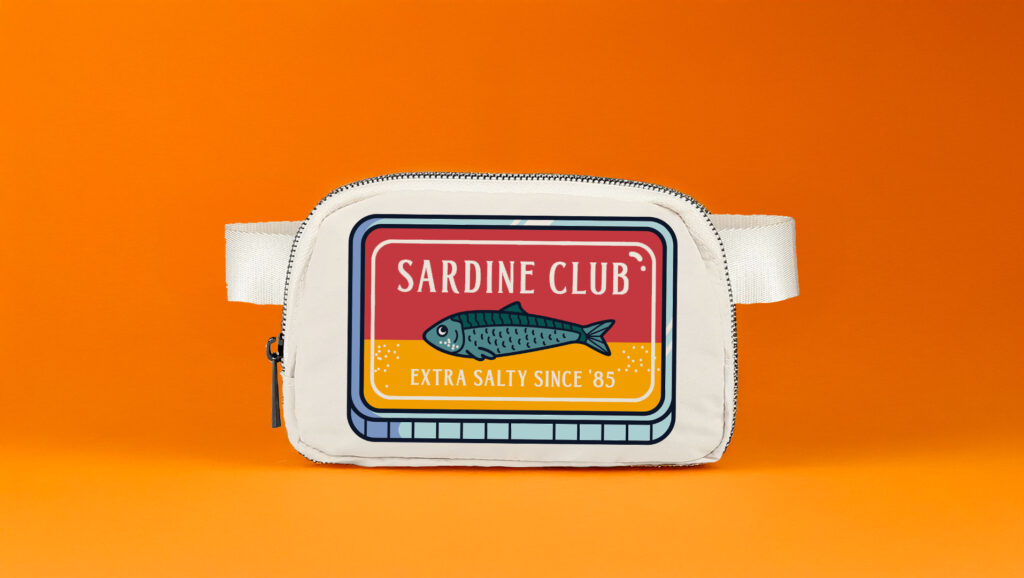
- Nylon Cross Body Bag
How to Make It:
- For this project, we are using a cross body bag we picked up at a local craft store
- In the Sawgrass Print Utility, we chose Natural Fabrics for the product.
- We printed this on 8.5″x 11″ VersiFlex Light paper
How to Press It:
- Turn on your press on and set the temperature to 375F (191C) degrees
- If you see any dust, lint roll your print area to make sure your surface is clean.
- Place your fabric on the press and line the paper up on top as you place it on the product.
- Cover with blow out paper.
- Press the fabric for 30 seconds at VERY HIGH pressure.
- When finished, remove the fabric from the press and peel the paper off as quickly as possible.
Tips & Tricks:
- Pressing works best when the surface is as flat as possible. For a product like this purse, remove all accessories you can and then place a pressing pillow in the bag to make the surface as even as possible.
- When deciding what material to choose in the Sawgrass Print Utility, the decision depends on what paper you need to use. Whether the fabric is natural or synthetic, if it is not 80% or more polyester, you will choose Natural Fibers and use the VersiFlex Light Paper.

Tools and Supplies to Make it:
- Sawgrass SG500 or SG1000 Printer
- Sawgrass VersiFlex Inks
- VersiFlex Light Paper
- Hat Press
- Cotton Hat
How to Make It:
- For this project, we are using a cotton hat we picked up at a local craft store
- In the Sawgrass Print Utility, we chose Natural Fabrics for the product.
- We printed this on 8.5″x 11″ VersiFlex Light paper
How to Press It:
- Turn on your press on and set the temperature to 375F (191C) degrees
- If you see any dust, lint roll your print area to make sure your surface is clean.
- Place your hat on the press
- Use the lever to tight the hat in the press. Make sure there are no wrinkles on the press area
- Line the paper up on top as you place it on the product.
- Press the fabric for 30 seconds at VERY HIGH pressure.
- When finished, remove the hat from the press and peel the paper off as quickly as possible.
Tips & Tricks:
- Pressing works best when the surface is as flat as possible. For a hat, make sure there are no wrinkles by pulling the tension as tight as possible.
- Need inspiration? The MySawgrass design tool allows you to personalize your look by adding custom text and even changing the colors on the designs and elements in the program.