
Skill Level: Intermediate
Tools & Supplies to Make It:
- MySawgrass+ Membership
- Sawgrass SG1000 Printer + Bypass Tray
- Sawgrass Sublijet UHD Inks
- TruePix paper
- Flat Press
- 13”x19” sublimation paper
- 15.75 Linen Pillow Cover
- Heat Tape
How to Create It:
- Log into MySawgrass and from the Landing Page choose Design.
- For your product, select the 15.75 Linen Pillow Cover by opening the Home Decor category or by using the search bar.
- Once the design tool opens, you can add your design.
- Open the DESIGNS panel of the design tool and select the Letters_To_Santa_Pillow design. You can find the design in the Deck The Halls category or by searching directly using the search bar.
- While this design was made specifically for the pillow, you made need to size down for optimal printing. We recommend an approximate size of 12.75” x 12.75.”
- Once the design is in place, hit the Print button and then on the Print Screen click on Print File.
How to Print It:
- You should get a popup that asks if you want to open Sawgrass Print Utility. You will need to click Open Sawgrass Print Utility. If you are not seeing this, you’ll need to disable your popup blocker.
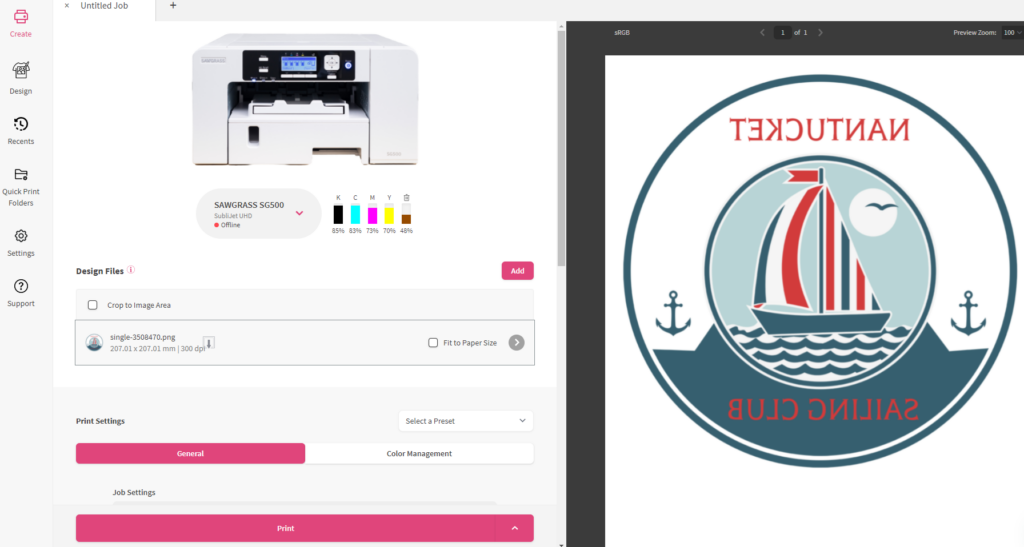
- In Sawgrass Print Utility, start by scrolling down and making sure your print orientation is set to Portrait.
- Set your print preset to Polyester T-shirt.
- Make sure that the media size and type match what you have in the printer. On the Color Management Tab, we suggest having the Color Mode set to Vibrant.
- When you’ve confirmed all of your settings, Hit Print.
How to Press It:
- Turn on your press on and set the temperature to 400F degrees
- Place your design face down on the pillow and secure with heat-resistant tape.
- Press the sack for 45 seconds at medium pressure.
- When finished, remove the paper and reveal the magic.
Tips & Tricks:
- While the print area on this product is large enough to need an SG1000 and a bypass tray, you can reduce the size of the design to fit your largest paper and just have a smaller design on the product.
- This pillow has a zipper. Whenever possible, keep zippers outside of your pressing surface so they are not damaged by the pressure.
Follow the release of Sawgrass Print Utility version 2024.6.0 on Wednesday, October 16, 2024, you will be able to export your projects from CreativeStudio and add them to the Sawgrass Print Utility where you can either print them or download them as a PNG that can upload into the MySawgrass design tool.
Exporting projects from CreativeStudio
To begin, you’ll need to open any projects you’d like to export in CreativeStudio. You will need to do each piece of art separately.
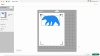
1) Open CreativeStudio and select Creations.
2) Open the folder and select the design you wish to open and export.
3) Once loaded, click the Export button to save the file to your computer.
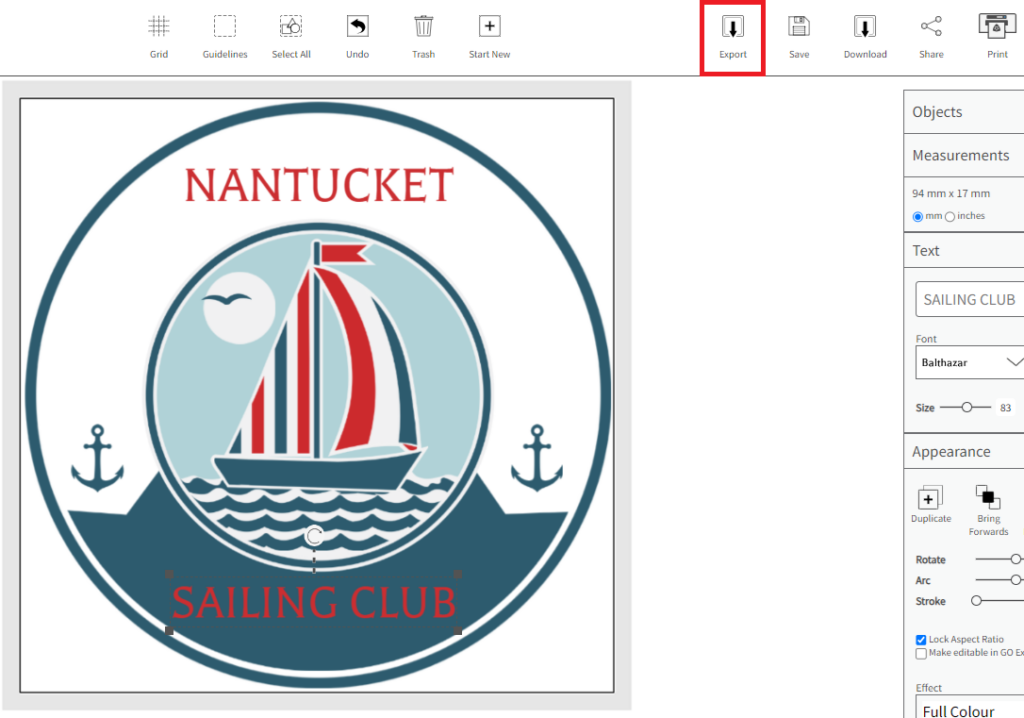
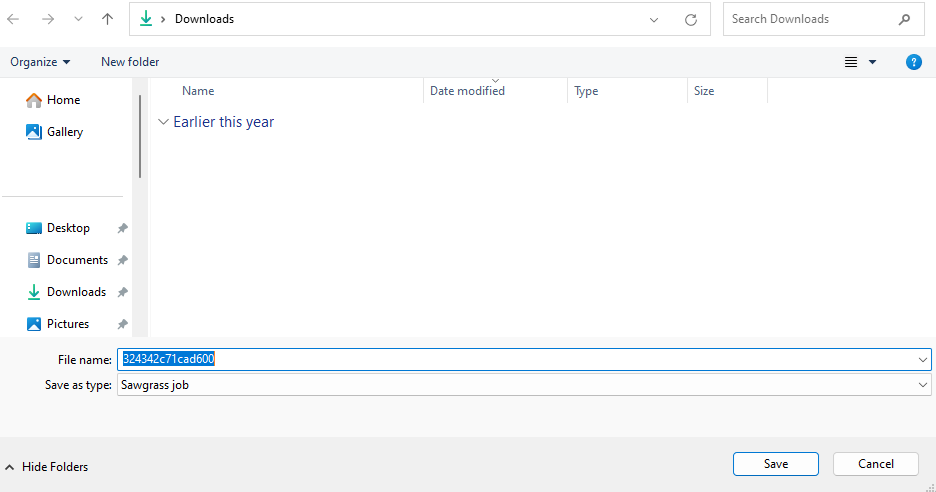
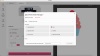
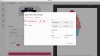
4) Choose the location you wish to save the file and click Save.
Importing print jobs into the Sawgrass Print Utility
Once your project is exported onto your computer, you will import it into the Sawgrass Print Utility.
5) Open the Sawgrass Print Utility, select Create and then Add File(s).
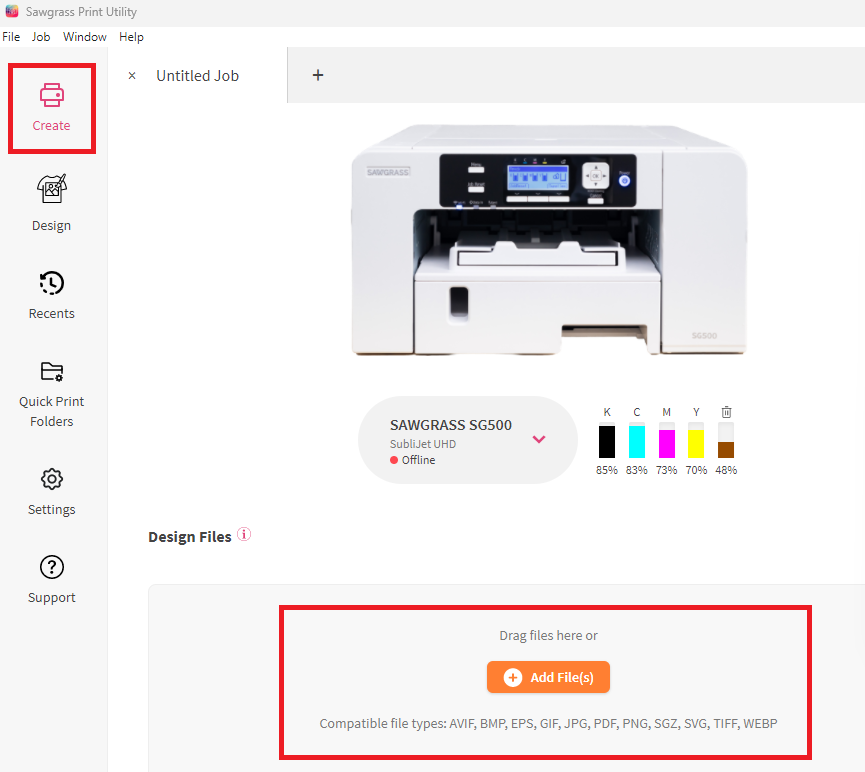
6) Locate and select the Sawgrass file that we just exported from CreativeStudio.
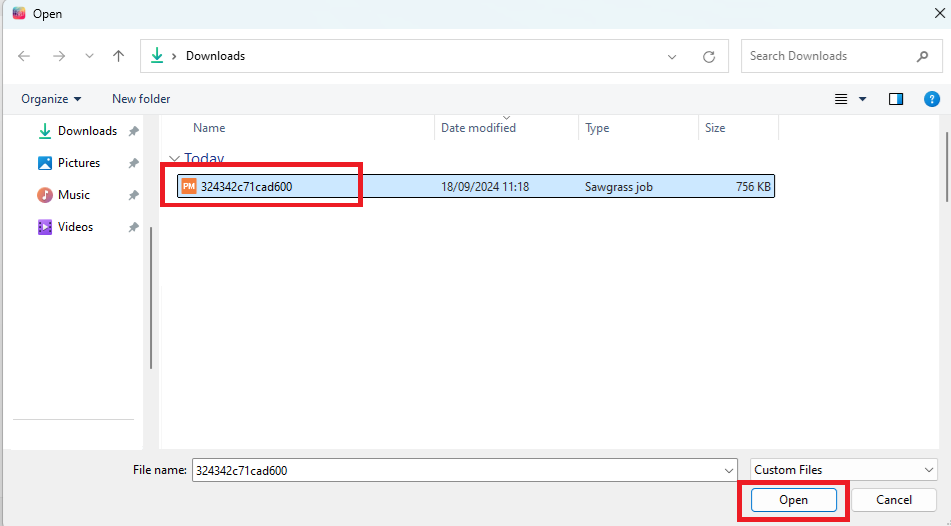
7) The exported design will now load as a job. There are two options from here:
a) To print the design, set your print settings as desired and then hit Print.

b) Click the export button to save the PNG on your computer

Uploading projects into the your MySawgrass design tool
Once you export the PNGs of your print projects to your computer, you can upload them into your MySawgrass design tool.
8) Open the design tool and select a product as if you were creating a design.
9) From the right panel, choose Upload file.
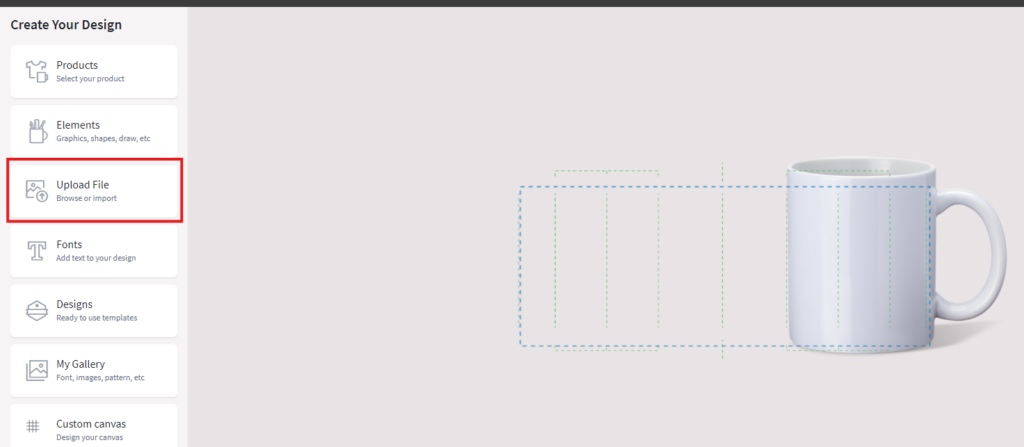
10) Click upload image, navigate to where you saved your file, and upload it.
11) If you need to remove the white background on the image, You an do that with the “Remove Color” tool. (Learn More About the Remove Color Tool)
12) Choose the folder where you want to save the project and it will be saved into your Gallery.
13) Repeat this process for all projects you are wishing to import. These are PNG files, so they cannot be edited once you export them from CreativeStudio.
That’s it! This is how you can bring your project from CreativeStuido into our new design tool. If you have any issues, or have any questions, please reach out to our team at care.sawgrassink.com
Want to learn more about the new MySawgrass programs? Please join us for a session where we walk through how to use them! (Getting to Know MySawgrass Sign-Up)
Last week, September 10-12, we had the opportunity to participate in the PRINTING United show in Las Vegas, Nevada. Members of our Sales and Product Development team were present in our booth at the show in the Las Vegas Convention Center and walked through the exhibits, meeting with our dealers and partners.

The PRINTING United Expo brings together representatives from all aspects of the printing industry under one roof. It’s a great place to access new applications, technology, and products.
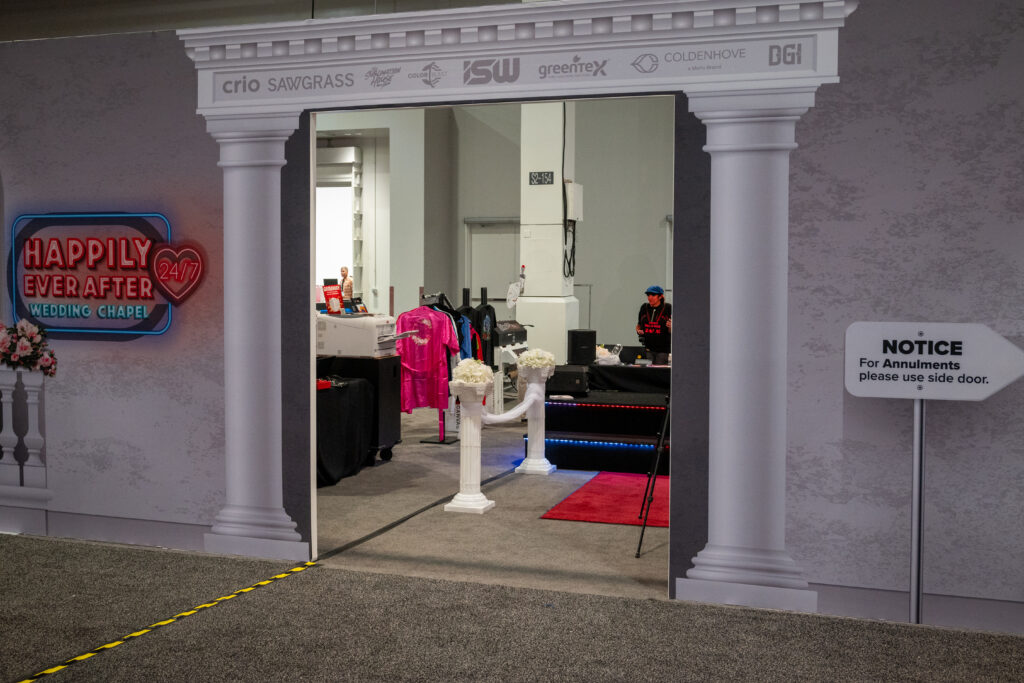
The theme of the show was “Vintage Vegas.” We were in the Imaging Supplies Warehouse booth with several other technologies. Our booth was setting around the concept of a Vegas Wedding Chapel.
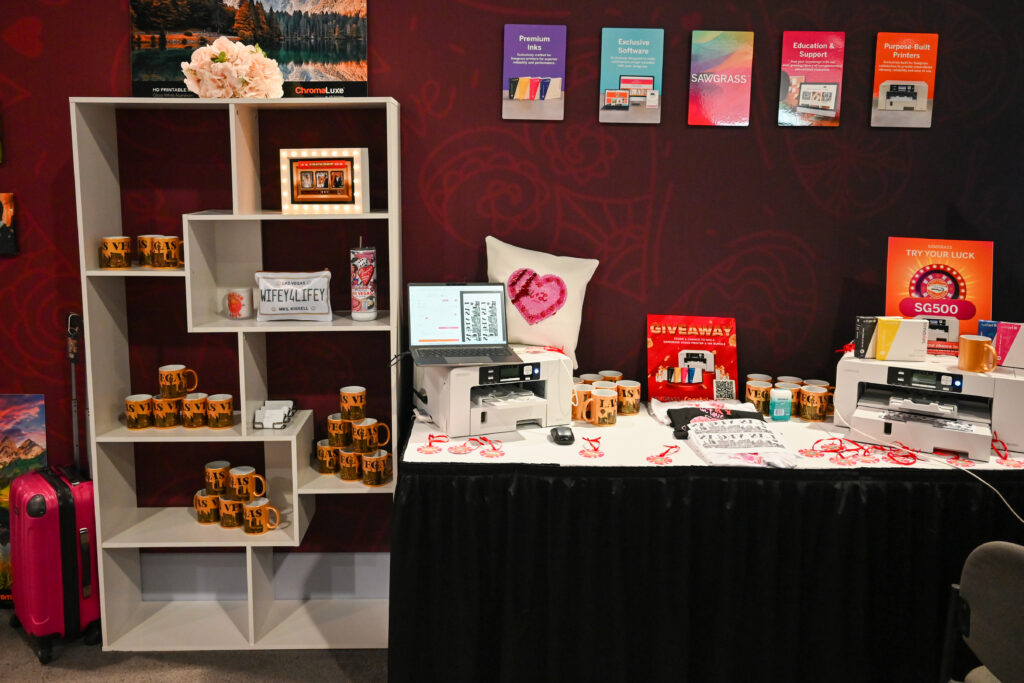
Monday was our set up day. Half of my luggage was samples; we brought with us a variety of products that can be achieved with sublimation. Throughout the week, visitors were excited to see our full wrap tumbler, shimmer cosmetic bag, and light up picture frame. We also showcased how easy it is to combine crafts and sublimation by adding a candle to a frosted glass mug. We had plenty of gold mugs with a silhouette of the Las Vegas skyline and poker chip ornaments on hand to give out to anyone who stopped by.
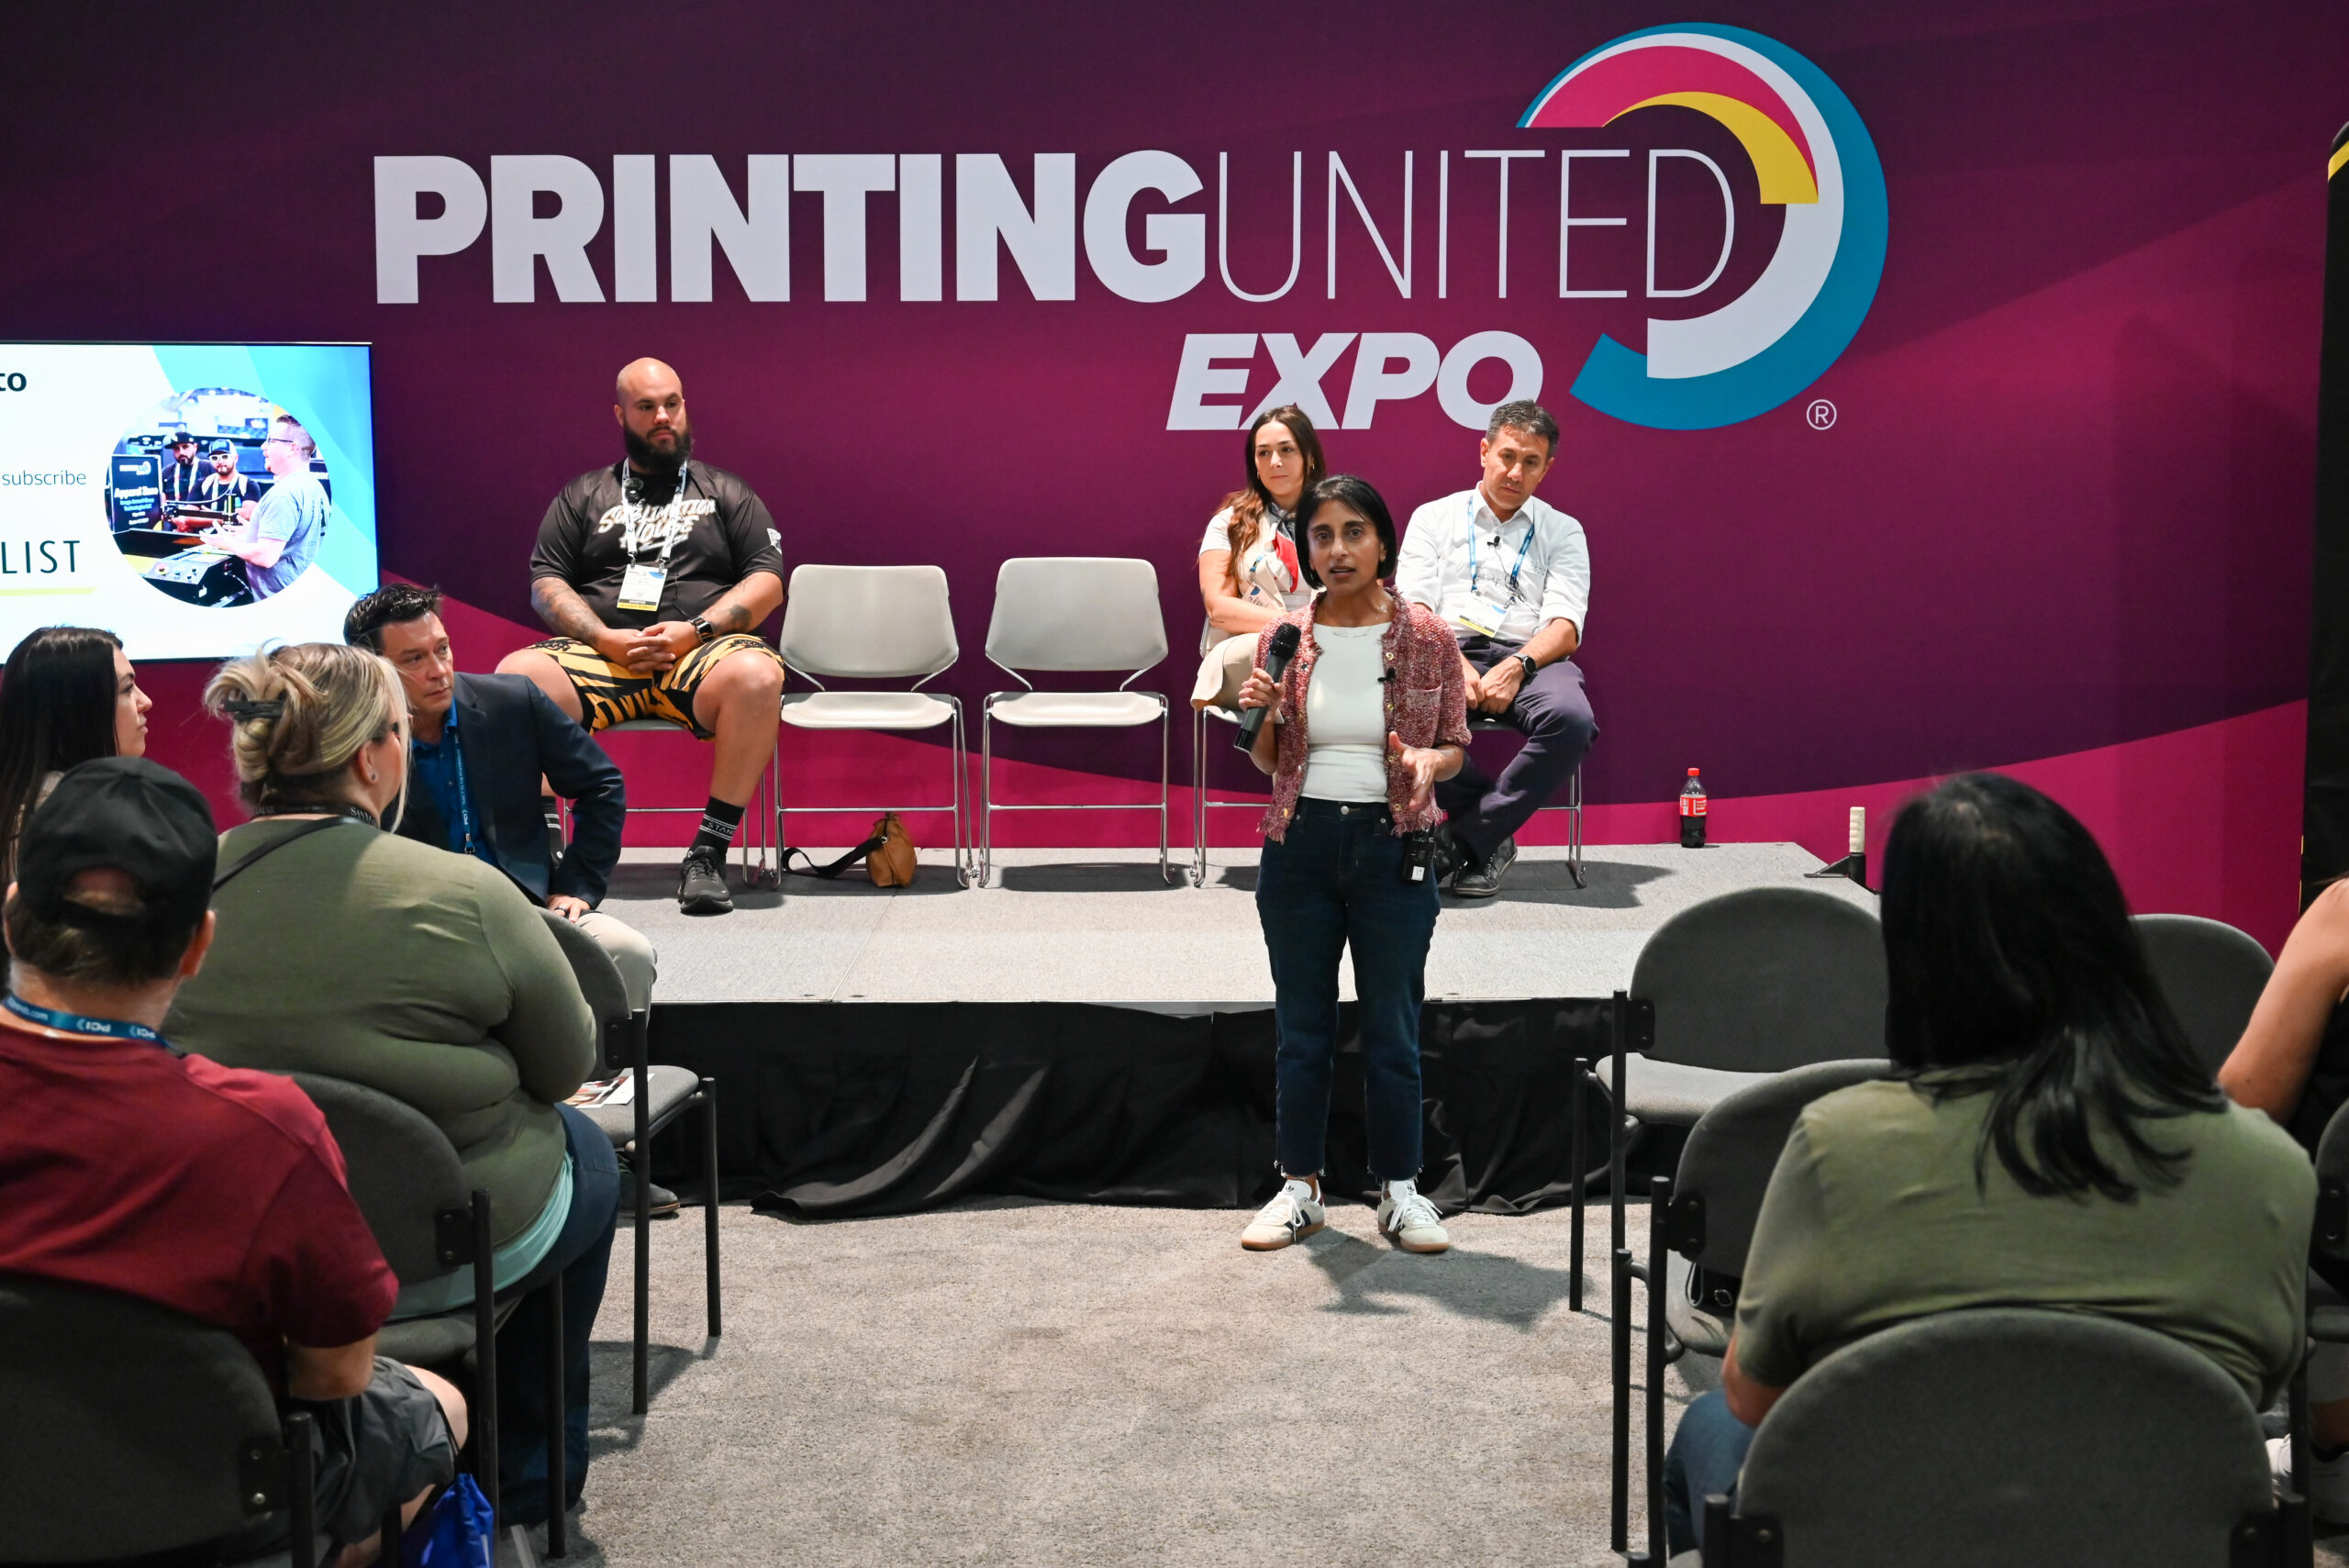
Throughout the convention, participants could participate in a variety of sessions and panels. Dimple Patel, our Chief Product Officer, was able to participate in a panel on the present and future of dye sublimation. It delved into the trends and innovations in the industry. This panel was early on day 1 of the Expo and got us off to a great start!
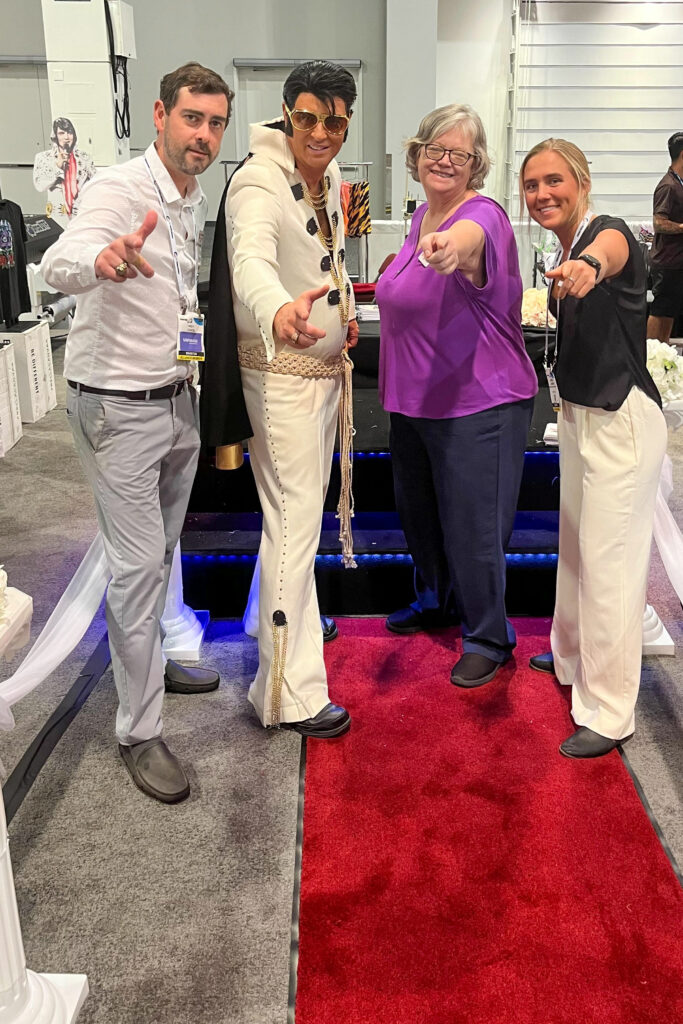
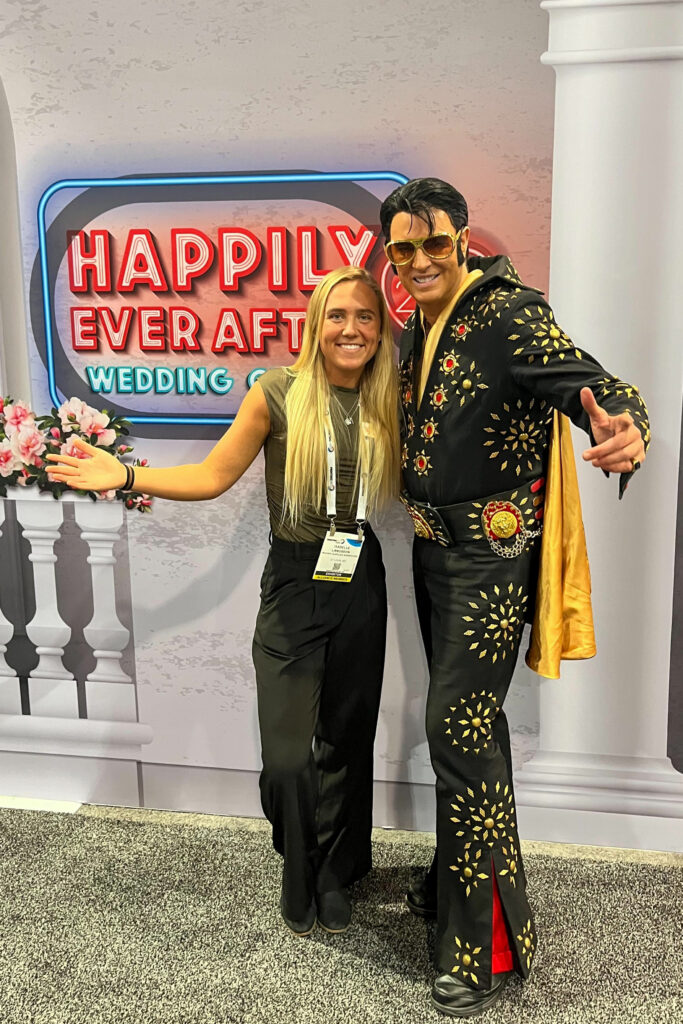
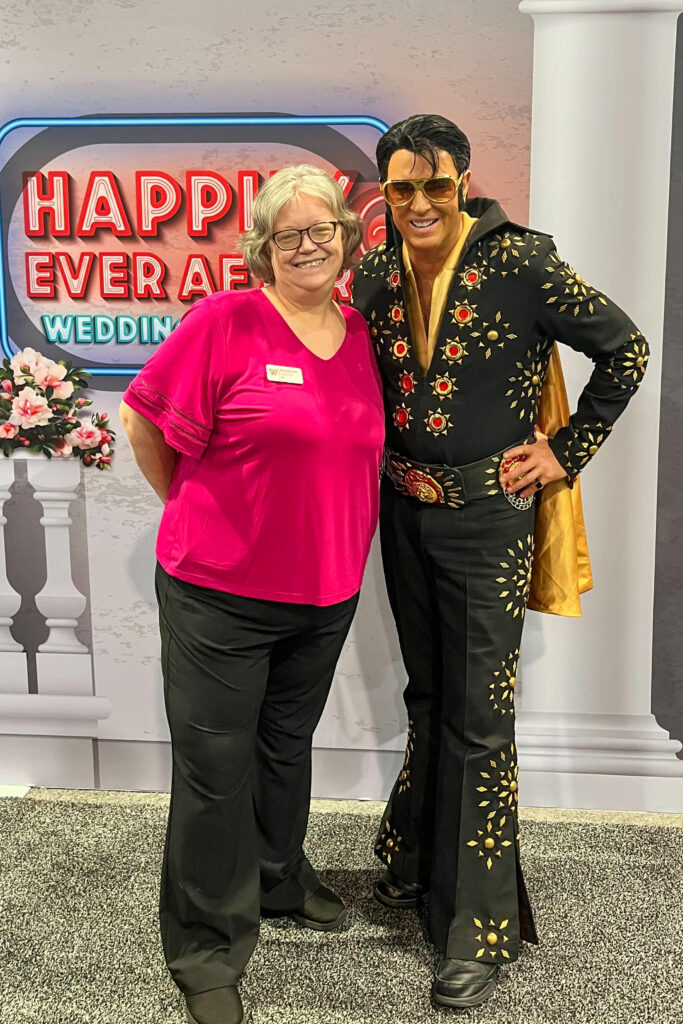

Most of our week revolved around the man in the bedazzled jumpsuit — Elvis was live in our wedding chapel. We had a lot of fun sublimating everyone’s photos with Elvis onto tote bags that were provided by Greentex.

Overall, we had a great week in Las Vegas. It was great catching up with our dealers and customers as well as meeting potential users too! We were glad to have this opportunity to show off the Sawgrass system; our ink, printers, and software.
We look forward to seeing everyone next October in Orlando, Florida.
One of the first things you are told when you purchase a Sawgrass printer is to keep it plugged into an outlet and powered on. This allows your printer to do daily maintenance cycles that keep the ink moving and help lower the risk of having clogged ink nozzles.
However, there are times when a printer needs to be powered down: printer maintenance, power outages, and having to relocate the printer are all things that happen from time to time.
Here are some general tips for what to do if you need to have your printer off:
- Keep the amount of time the printer will be off to a minimum. If evacuating for a storm, let it be one of the last things you turn off. When you return, let it be one of the first things you turn back on. Same for if you are traveling with your printer; let it be one of the last things you pack into your vehicle before leaving and one of the first things you unpack when you arrive.
- After plugging in your printer, run a nozzle check. You can do this from the Printer Features/List/Test Print menu in the printer itself. If you get a bad nozzle check, go ahead and start troubleshooting. This will hopefully allow you to clear the clog before it gets worse.
- If you are relocating the printer, make sure to leave the ink cartridges and waste container in the printer. This helps prevent air from being introduced into the lines and reduces the chance that ink will leak.
- If you are unplugging the printer during a storm evacuation, move the printer to a protected location away from windows.
While we’re on the topic of leaving your printer turned on, we often get questions from users who do not print frequently.
In addition to leaving your printer turned on and plugged into an outlet, here are some other steps you should take:
- If you haven’t printed in a few weeks, print a nozzle check. You can use copy paper instead of sublimation paper and it does not take a lot of ink, so this is a good option
- Check your printer LCD screen every few days. You are checking to make sure the printer is still on, that there are no error messages, and that none of your ink cartridges are empty.
- If the nozzle check has breaks, or if you have any message on the printer LCD, go ahead and address it as soon as possible. This will prevent issues from compounding. If your printer is off or in an error state, it cannot do that daily maintenance and problems can worsen.
Hopefully these tips will calm your nerves about what to do with your printer if you have to turn it off or are going a while without printing! Check here in the blog section for more tips to keep your printer running and producing consistently great prints!
Skill Level: Beginner
Tools & Supplies to Make It:
- MySawgrass+ Membership
- SG1000 Printer
- 12 x 12 or larger flat Press
- 11x’17” or larger sublimation paper
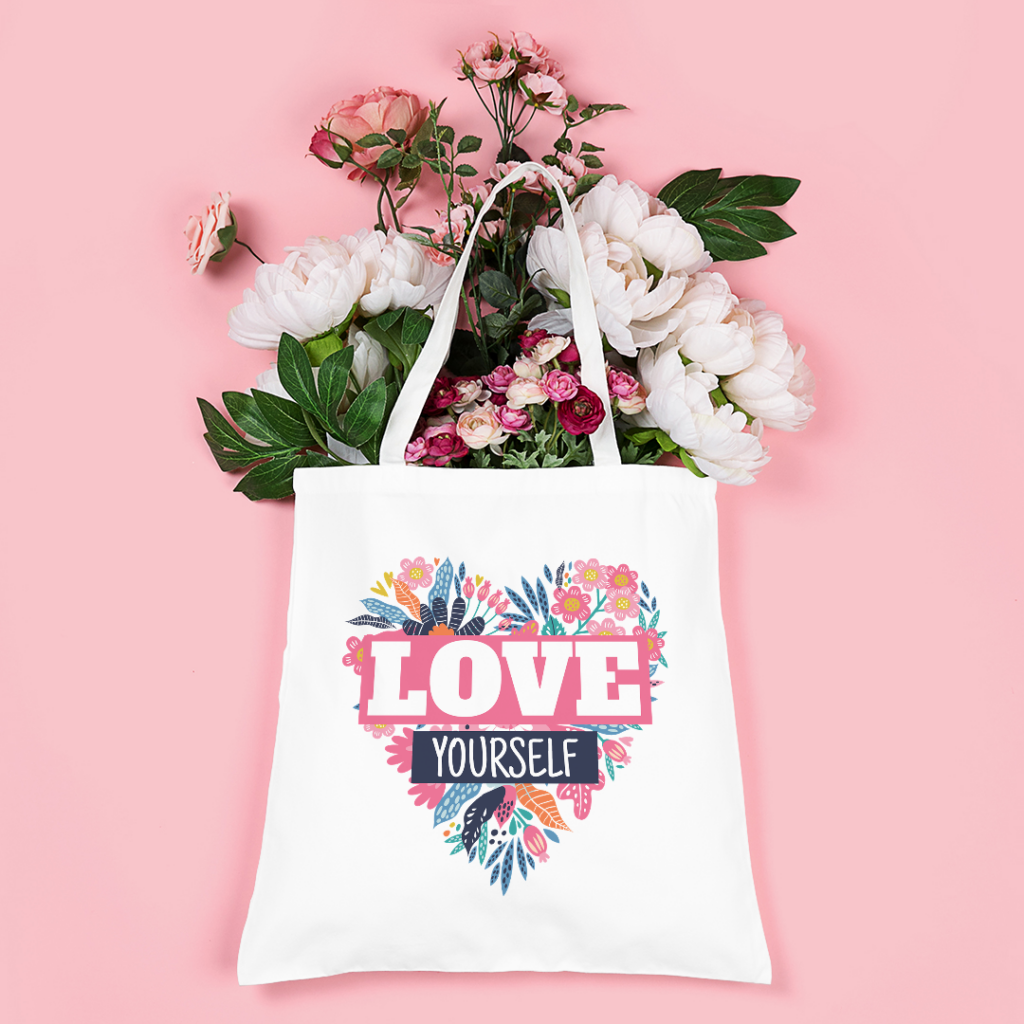
- Canvas Tote Bag
- Lint Roller
- Heat Tape
How to Create It:
- Log into MySawgrass and from the Landing Page choose Design.
- For your product, select the Canvas Tote Bag. It can be found under Bags & Totes.
- On the Create Your Design Panel, click on Designs.
- Go to the filter and click on Summer. Now hit apply.
- Choose the Aloha design.
- Use your mouse to lasso around all the parts of the image. Use the move and scale options to resize and move the image.
- To remove the background, at the top of the screen, hit the trashcan icon next to Background.
- To make the background behind the pineapple stand out more, click on the pineapple.
- In the color panel on the left, click on the ivory, and then change the Hex Code to #5DAAAE.
- When your design is finished, hit the Print button and then on the Print Screen click on Print File.
How to Print It:
- You should get a popup that asks if you want to open Sawgrass Print Utility. You will need to click Open Sawgrass Print Utility. If you are not seeing this, you’ll need to disable your popup blocker.
- In Sawgrass Print Utility, start by scrolling down and making sure your print orientation is set to Portrait.
- For this project, use the preset Canvas Tote.
- Make sure that the media size and type match what you have in the printer. On the Color Management Tab, we suggest having the Color Mode set to Vibrant.
- When you’ve confirmed all of your settings, Hit Print.
How to Press It:
- Turn your press on and set the temperature to 380 degrees and the time to 45 seconds.
- Prepare your canvas tote by using a lint roller to remove any dust or fibers.
- Tape your image down to the tote.
- Place the bag in the heat press and close.
- Wait 45 seconds before lifting the lid and removing the bag.
Tips & Tricks:
Pressing pillows are great for items with zippers to keep it flat during pressing.
We put a piece of blowout paper/or parchment paper in the bag to just make sure the image does not bleed through
You can size this image to make it work for any size paper and printer, especially if you remove the background.
With any fabric items, it’s a good idea to center your design on the paper and then rip the edges. This keeps the solid line from appearing on pressed polyester items.
Skill Level: Basic
Tools & Supplies to Make It:
- MySawgrass+ Membership
- Sawgrass SG500 or SG1000 Printer
- 15”x15” or larger Flat Press
- 11”x17” or larger sublimation paper
- Polyester T-shirt
- Lint Roller
- Heat Tape
- Blowout Paper
How to Create It:
- Log into MySawgrass and from the Landing Page choose Design.
- For your product, select the Relaxed Solar Short Sleeve T-Shirt. It can be found under Clothing.
- On the Create Your Design Panel, click on Designs.
- Go to the filter and click on Sports and hit apply.
- Choose the France logo.
- Use your mouse to lasso around all the parts of the image. Use the move and scale options to resize and move the image.
- When your design is finished, hit the Print button and then on the Print Screen click on Print File.
How to Print It:
- You should get a popup that asks if you want to open Sawgrass Print Utility. You will need to click Open Sawgrass Print Utility. If you are not seeing this, you’ll need to disable your popup blocker.
- In Sawgrass Print Utility, start by scrolling down and making sure your print orientation is set to Portrait.
- For this project, you can use the preset Polyester T-Shirts.
- Make sure that the media size and type match what you have in the printer. T-shirts are set up for tabloid, but if you want a smaller design, set your paper size and then go to design files and click Fit to Paper Size.
- On the Color Management Tab, we suggest having the Color Mode set to Vibrant.
- When you’ve confirmed all of your settings, Hit Print.
How to Press It:
- Turn your press on and set the temperature to 385 degrees and the time to 45 seconds. Pressure should be medium.
- Prepare your t-shirt by using a lint roller to remove any fibers or dust.
- Place your design face down on the t-shirt and tape it down.
- Place the t-shirt on the lower platen of the press with the printed page on top.
- Place a piece of blowout paper on top.
- Close the press and wait 45 seconds before opening the press and removed the shirt.
Tips & Tricks:
- Getting lines on your fabric items? Ripping the edges of paper helps prevent those hard lines.
- Place blowout paper in the shirt to prevent any ink from accidentally getting on the back of the shirt.
- You can create a collection of items for your favorite sports fan by doing the country themed shirt, and then add other gifts like the mug and bag.
Skill Level: Intermediate
Tools & Supplies to Make It:
- MySawgrass+ Membership
- Sawgrass SG500 or SG1000 Printer
- Tumbler Press
- 8.5”x11” or larger sublimation paper
- 20oz Skinny Tumbler with Bluetooth Speaker
- Denatured Alcohol and a lint free cloth
- Heat Tape
How to Create It:
- Log into MySawgrass and from the Landing Page choose Design.
- For your product, select the 20oz Skinny Tumbler with Bluetooth Speaker. It can be found under Drinkware.
- On the Create Your Design Panel, click on Elements and then Backgrounds. Click on Patterns.
- Click on the filter icon and then select Outdoors and click apply.
- Choose the Jungle pattern and hit done.
- On the Patterns Menu scroll down and adjust the size.
- When your design is finished, hit the Print button and then on the Print Screen click on Print File.
How to Print It:
- You should get a popup that asks if you want to open Sawgrass Print Utility. You will need to click Open Sawgrass Print Utility. If you are not seeing this, you’ll need to disable your popup blocker.
- In Sawgrass Print Utility, start by scrolling down and making sure your print orientation is set to Landscape.
- For this project, you can use the preset Stainless Steel Drinkware.
- Make sure that the media size and type match what you have in the printer. On the Color Management Tab, we suggest having the Color Mode set to Vibrant.
- When you’ve confirmed all of your settings, Hit Print.
How to Press It:
- Turn on your press on and set the temperature to 375F degrees and the time to 55 seconds.
- Prepare your tumbler by using denatured alcohol on a lint free cloth to remove any dust or fibers.
- Remove the lid and the bluetooth speaker.
- Wrap your design around the cup and tape it tightly in place with heat resistant tape.
- Place the cup in the press for 55 seconds.
- Once the alarm sounds, open press, rotate tumbler, reset press for 45 seconds and close press.
- When finished, remove the tumbler.
Tips & Tricks:
- With all tumblers, make sure to remove any accessories before putting in press.
- For full wrap tumblers, press for half the time, rotate, and then finish pressing.
- We did not add text to this design, but you could add a shape with text to personalize the design.
Skill Level: Intermediate
Tools & Supplies to Make It:
- MySawgrass+ Membership
- Sawgrass SG500 or SG1000 Printer
- Flat Press
- “8.5×11” or larger sublimation paper
- Glass cutting board
- Silicone Mat
- Alcohol and a lint free cloth
- Heat Tape
- Blowout Paper
How to Create It:
- Log into MySawgrass and from the Landing Page choose Design.
- For your product, select the Small Rectangle Glass Cutting Board. It can be found under Kitchen and Dining.
- On the Create Your Design Panel, click on Elements and then Backgrounds.
- Then click on the tab for Patterns.
- Click on the filter icon and then select Food and Drink and click apply and then more.
- Choose the Fruit Salad patterns.
- On the left, below the patterns, you can change the pattern to create the background you like.
- We chose Repeat and Tile.
- You can use the sliders for Spacing and Size to make the pattern your own.
- When your design is finished, hit the Print button to send your job to Sawgrass Print Utility
How to Print It:
- You should get a popup that asks if you want to open Sawgrass Print Utility. You will need to click Open Sawgrass Print Utility. If you are not seeing this, you’ll need to disable your popup blocker.
- In the Sawgrass Print Utility, start by scrolling down and making sure your print orientation is set to Landscape.
- For this project, you can use the preset Glass Cutting Board.
- Make sure that the media size and type match what you have in the printer.
- Though this setting should change with your Preset, verify that mirror is turned off.
- On the Color Management Tab, we suggest having the Color Mode set to Vibrant.
- When you’ve confirmed all of your settings, Hit Print.
How to Press It:
- Turn your press on and set the temperature to 400 degrees Fahrenheit and the time to 4.5 minutes (270 seconds).
- Prepare your glass cutting board with a lint free cloth and alcohol to remove any fibers or fingerprints.
- Place your design face down on the insert and tape it down.
- Place the glass cutting board on the lower platen of the press with the printed page on top.
- Place a piece of blowout paper on the bottom and top.
- Place a silicone pad between the cutting board and the top plate of the press.
- Close the press and wait 60 seconds before opening the press and removed the printed glass.
- Glass holds heat well and will be very hot! Let it sit on a heat resistant surface for a while to cool before handling.
Tips & Tricks:
- When you press on glass you are pressing on the back and then viewing from the front. Glass is one of the very few instances where you do not need to mirror before printing
- Normally with sublimation, you are starting with a white base. That creates a very vibrant image. Because the glass is transparent, light flows through your print. You will never get as vibrant and bold as print on glass. When selling a glass cup, you can fill the cup with a white paper, like tissue paper, to make the design pop. On a glass cutting board, your image will always be muted. The easiest way to control that is when you choose your artwork. Go for photos that have lots of contrast and strong coloring. For designs, go for ones with solid, bold colors like the one we chose today.
Crafting for Serenity
Recent years have seen a flood of articles about how crafting, be it sublimation, sewing, painting, or knitting, enhances health. It’s all about diverting your attention from life’s stressors and finding a moment of peace.
Here’s how crafting can positively impact your life:
- It’s all in the hands. Crafting improves dexterity. In an age where we’re often glued to screens, crafting offers a refreshing break, revitalizing your hands.
- Keep your brain buzzing. Learning a new craft requires focus. Concentrating on creating something beautiful takes your mind off of life’s worries.
- Crafting: the social butterfly. Believe it or not, crafting opens up a whole new world of friendships, both online and in local crafting groups. Join MyMates, our online Community on the Sawgrass platform, and connect with fellow crafters.
- Make money, lose stress. Sublimation is an ideal side hustle that can pad your pocketbook. US users, take advantage of our digital storefront, MarketMates, to sell your creations.
Stress-Free Sublimation
Sublimation can be both calming and stressful. Fretting over a wasted blank or misplaced heat tape can spike your stress levels.
Fear not, here are some tips to ensure a tranquil sublimation experience:
- Check your blank’s product detail page for best practices.
- Be sure to double-check for any plastic coating on your blank.
- Before taping your print to the blank, ensure it’s correctly mirrored and facing up.
- Keep all supplies at the ready before starting.
- Run through your settings in PrintMate to ensure accurate color output.
Stress-Busting Sublimation Gifts
Crafted gifts are a wonderful way to spread calm and encouragement.
Here are some calming sublimation projects you can gift:
- Mugs: A message of encouragement on a mug brightens every sip. Add some teas, coffees, or candies for an extra special touch.
- Sublimated notebooks: Encourage journaling, another stress reliever, with a personalized notebook.
- Clothing: A sublimated shirt, hat, or socks lets the recipient carry your encouragement wherever they go.
We hope these tips promote a serene crafting experience. Happy Sublimation!
One of our primary goals with the Sawgrass Print Utility was to create a program that includes as many customer workflows as possible. One place you see this is the multiple ways you can add your files to PrintMate, our print management software. Let’s take a look at those now!
Create Within the Sawgrass Print Utility
Unlike our previous print management programs, the print utility opens even without a file being open. With Sawgrass Print Utility open, you can hit the Create Button and then Add Files to add your design. You can add .avf, .bmp, .eps, .gif, .jpg, .pdf, .png, .svg, .tiff, and .webp files. Adding multiple files to one tab will put them all on the same page.
Send to Sawgrass Print Utility
Users can send projects to the Sawgrass Print Utility from any program. This is as simple as when you go to File and then Print, you choose Send to Sawgrass Print Utility as your printer. For the first time, you can do this on both Windows and Mac operating systems.
Send to Sawgrass Print Utility: Before you hit Print
The biggest thing to remember when using the Send to Sawgrass Print Utility function, is that you need to configure your settings in the PrintMate application first. You’ll do this by going to Settings and then Send to Sawgrass Print Utility. You can configure your product type, as well as set any things like paper size and paper type. There is also an option to automatically print. This would mean that when you print to the Send to Sawgrass Print Utility option, it would apply your chosen settings and go straight to the printer without opening Sawgrass Print Utility first. If you have multiple printers, you’ll notice that you can select them all. This means that the program will send to the printer that was used the furthest in the past and not just the one selected. This will save users from remembering when printers were used, the system does the work for you.
Send to Sawgrass Print Utility: Print & Cut
Send to Sawgrass Print Utility works with print and cut from both Silhouette and Cricut design softwares. The above videos show the path from both. Like with any program, the key is choosing Send to Sawgrass Print Utility as the printer name.
Quick Print Folders

Another option for adding files to the Sawgrass Print Utility is to add them to a Quick Print Folder. Users can add as many folders as they like. Files are just dropped into the folders and then open in the print utility. Like with Send to Sawgrass Print Utility users should configure their settings in the print utility before dropping files in the folders. One setting that users will notice is the ability to pause a folder. This allows users to add files to the folder, but they will not open in PrintMate until the users set the folder to play.
Unless another location is chosen, these folders can be found on the computer desktop.
Quick Print Folders: Adding Additional Folders
When Sawgrass Print Utility is installed, one Quick Print Folder is automatically added to the computer desktop. Users can add other folders in the Quick Print Folder settings area of Sawgrass Print Utility. A good reason for this is if the user regularly prints different product types. Folders can be set up for each product type with the correct settings already chosen to ensure consistent output.
Quick Print Folders: Controlling File Deletion
Once a file is added to a Quick Print folder, the file will remain there after printing is complete. As with many aspects of the Sawgrass Print Utility, the user is in the driver’s seat with Quick Print Folders and controls how long files are kept in the Quick Print Folder. Users can choose how often the file delete, and clean up the folder at any time.
Printing from the MySawgrass design tool
Printing from the MySawgrass design tool works a little different than from other programs. Users of the Sawgrass design tool will see a Print button without the design area. Once they hit the Print button, they will choose if they want to print to the Sawgrass Print Utility or download a proof. When printing, users will see a popup asking them if they want to open PrintMate. Make sure that any popup blockers on the browser have been disabled so this can occur. Generally, if you hit Print and the Sawgrass Print Utility is not opening, this is why.
Printing from MySawgrass design tool: Merging multiple Jobs
If multiple design tool files are sent to the Sawgrass Print Utility, they will all come into the program as separate tabs. The ‘Merge Jobs’ button allows users to combine multiple tabs into one, allowing users to put the jobs on the same piece of paper.
As you can see, we have created multiple avenues to get your files into the Sawgrass Print Utility. This allows users to print how they want without needing a workaround.