
Skill Level: Intermediate
Tools & Supplies to Make It:
- MySawgrass+ Membership
- Sawgrass SG500 or SG1000 Printer
- 15″x15″ or larger Flat Press
- 11″x17″ or larger sublimation paper
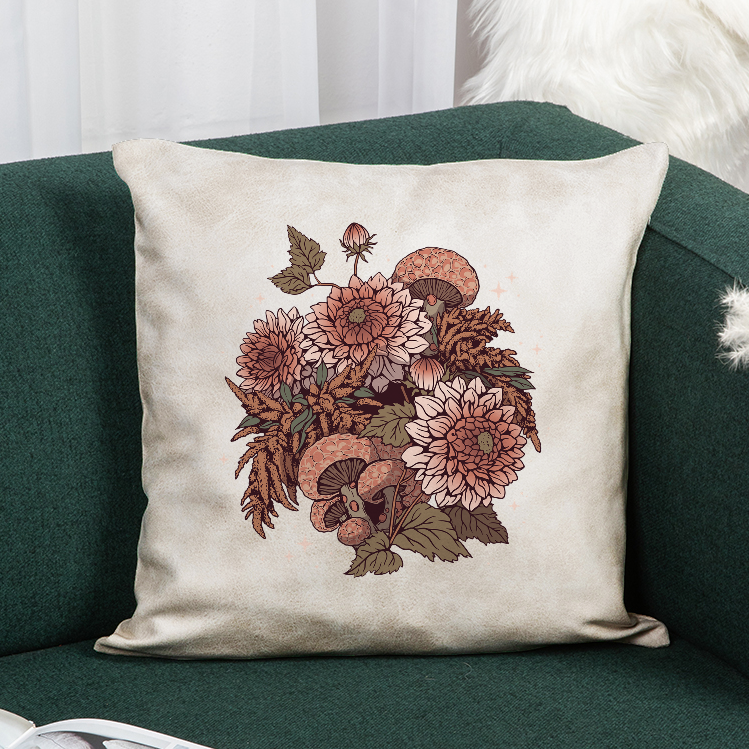
- Tan Leathaire Pillow Cover
- Lint roller
- Heat tape
- Blowout Paper
How to Create It:
- Log into MySawgrass and from the Landing Page choose Design.
- For your product, select the Tan Leathaire Pillow Cover. It can be found under Home Decor.
- On the Create Your Design Panel, click on Designs. Click on the filter icon and then select Flower Shop and click Apply.
- The mushroom and flower design should be the first one. Click on it to select it.
- To reduce the image size, use your mouse to lasso around the images and select them all as a group. Then use the resize icon on the group to reduce the size, It should stay centered.
- If you are not able to print full bleed and press it onto your pillow, you can delete the background. On the top menu hit the trash can icon next to the work background and delete.
- When your design is finished, his the Continue button to move to the product details page.
- You’ll be prompted to name your design, put it in a Category folder, and then hit save.
- On the Product Detail page, you’ll give the project a name and add a description, then hit print.
How to Print It:
- You should get a popup that asks if you want to open Sawgrass Print Utility. You will need to click Open Sawgrass Print Utility. If you are not seeing this, you’ll need to disable your popup blocker.
- In the Sawgrass Print Utility, start by scrolling down and making sure your print orientation is set to Portrait.
- For this project, there is not a preset. Your product is Polyester and your print quality is High Quality.
- Make sure that the media size and type match what you have in the printer.
- If you are not doing a full bleed pillow, and your file is not quite fitting on the paper, you can go to the Design Files area and select Fit to Paper Size to reduce the print area to what you can accommodate.
- On the Color Management tab, we suggest having the Color Mode set to Vibrant.
- When you’ve confirmed all of your settings, hit Print.
How to Press It:
- Turn your press on and set the temperature to 360 degrees Fahrenheit and set the time to 80 seconds.
- Pressure should be light.
- Prepare your pillow by using a lint roller to remove and fibers or dust.
- Place your design face down on the pillow and tape it down.
- Place the pillow on the power platen of the press with the printer page on top.
- Place a piece of blowout paper on top.
- Close the press and wait 80 seconds before opening it and removing the printed pillowcase.
Tips & Tricks:
- Getting lines on your fabric items? Ripping the edges of the paper helps prevent those hard lines.
- It is helpful to put a pressing pad or pillow in the pillow case to get a more even press and relieve pressure on the fabric.
- Keep zippers outside of the press when possible. If it is not possible, you can use a pressing pillow inside the pillow case to prevent damage to the zipper.


