Tools and Supplies to Make it:
- Sawgrass SG500 or SG1000 Printer
- Sawgrass VersiFlex Inks
- TruPix Classic Paper
- Flat Heat Press
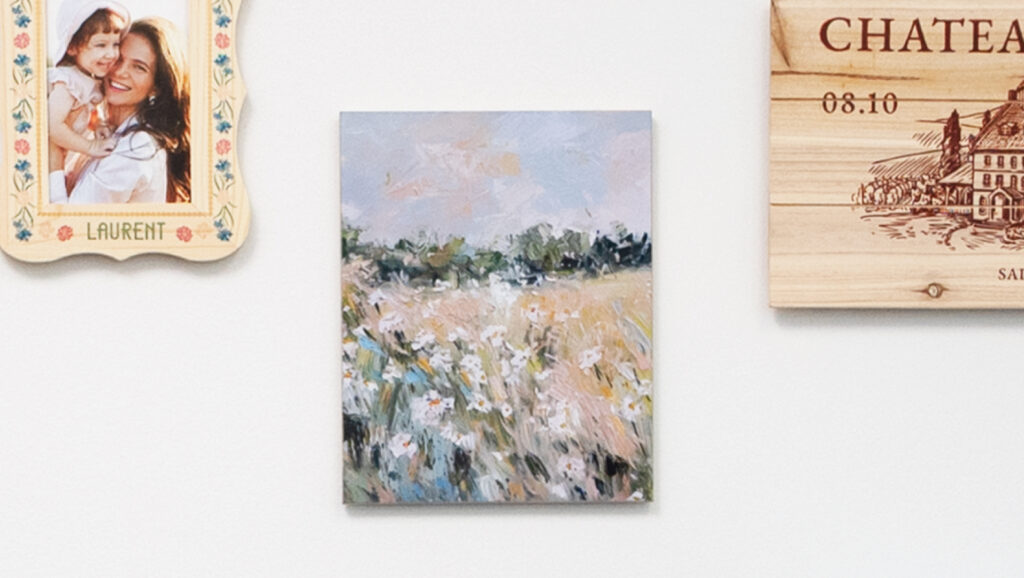
- Hardboard Photo Panel
How to Make It:
- For this project, we are using a sublimation hardboard panel
- In the Sawgrass Print Utility, we chose MDF Board for the product.
- We printed this on “8.5×11” TruePix Paper
How to Press It:
- Turn on your press on and set the temperature to 400F (191C) degrees
- Place your panel on the press and line the paper up on top as you place it on the product.
- Cover with blow out paper.
- Press the panel for 60 seconds at medium pressure.
- When finished, remove the panel from the press and remove the sublimation transfer paper.
Tips & Tricks:
- Your panel may have a protective plastic cover on the product that will need to be peeled off before pressing. You can use denatured alcohol on a lint free cloth to remove any dust before pressing.
- Looking for design inspiration? While these panels work great with photos or artwork, you can also add one of the inspirational quotes found in Designs in the MySawgrass design tool.


