Tools and Supplies to Make it:
- Sawgrass SG500 or SG1000 Printer
- Sawgrass VersiFlex Inks
- VersiFlex Light Paper
- Flat Heat Press
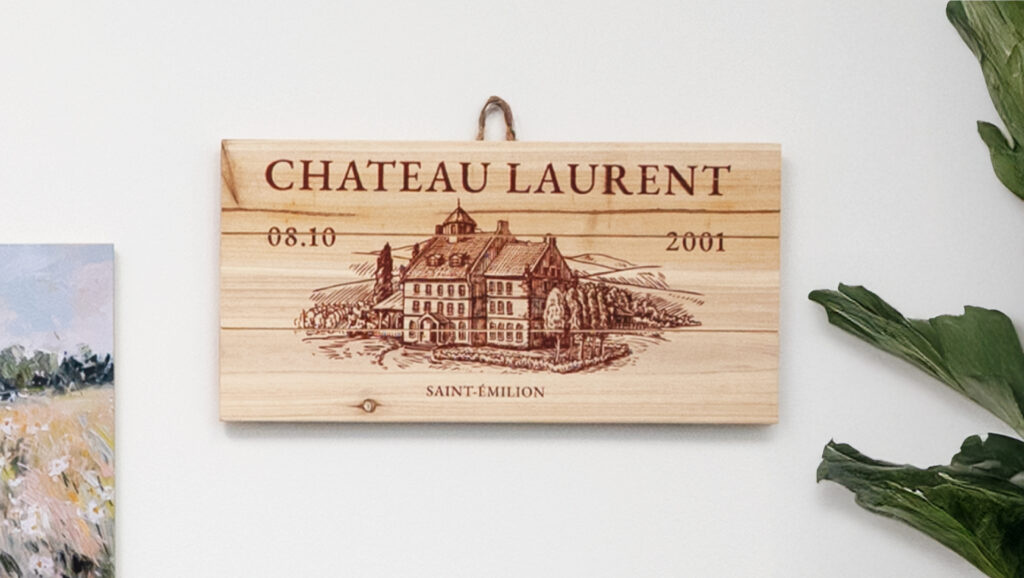
- Wooden Sign
How to Make It:
- For this project, we are using a wooden sign we picked up at a local craft store
- In the Sawgrass Print Utility, we chose Uncoated Wood for the product.
- We printed this on 11″x17″ VersiFlex Light paper
How to Press It:
- Turn on your press on and set the temperature to 375F (191C) degrees
- Place your sign on the press and line the paper up on top as you place it on the product.
- Cover with blow out paper.
- Press the wood for 30 seconds at medium pressure.
- When finished, remove the coaster from the press and peel the paper off as quickly as possible.
Tips & Tricks:
- Because you do need to remove the paper from the product as quickly as possible after pressing, it is a good idea to have a paper tab that you can use when pulling the paper off. If your design does not completely cover the product, you can pinch an edge before pressing to give you something to quickly grab.
- This is another style of product where you can alter the size of the design to fit your printer and press. The only thing that changes is how much of the product is covered by the design.


