How to Make It: Gnome Enamel Mug
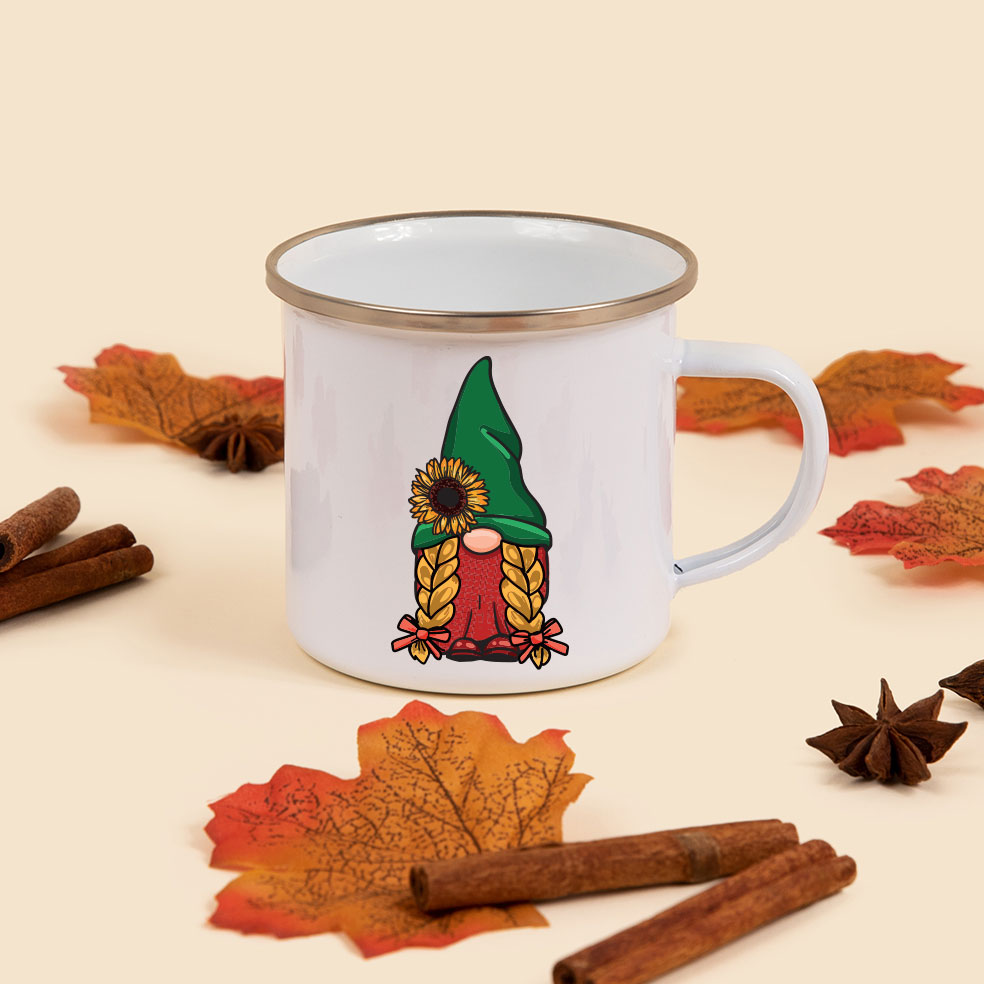
Enamel mugs are perfect for sitting next to a Fall Fire and nothing says Fall more than a cute gnome!
Skill Level: Intermediate
Tools & Supplies to Make It:
- DesignMate+ Membership
- Sawgrass SG500 or SG1000 Printer
- Mug Pres or Tumbler Press
- Mug Paper or larger sublimation paper
- Medium silicone wrap
- Enamel Camping Mug
- Lint-free cloth and alcohol
- Heat tape
- Blowout Paper
How to Create It:
- Log into the Sawgrass Exchange and start a new creation in DesignMate.
- For your product, select the ’12oz Enamel Mug’. It can be found under Drinkware.
- On the ‘Create Your Design’ panel, click on Designs.
- Click on the filter icon, then select Gnomes and click ‘Apply.
- Choose the first gnome, with a sunflower on her hat.
- The image seems to be sized perfectly for the area, but if you want to reduce the image size, use your mouse to lasso around the images and select them all as a group. Use the resize icon on the group to reduce the size.
- With the gnome selected, use the ‘duplicate’ button on the right to make a copy of her and add her to the other side of the mug.
- When your design is finished, hit the ‘Continue’ button to move to the product details page.
- You’ll be prompted to name your design and put it in a category folder. Do this, then click ‘Save’.
- On the Product Detail page, you’ll give the project a name and a description, then click ‘Print’.
How to Print It:
- Make sure that you are seeing the popup to Open PrintMate and are hitting Open PrintMate. If you are not seeing this, you’ll need to disable your popup blocker.
- In PrintMate, start by scrolling down and making sure your print orientation is set to ‘Landscape’.
- If you want to print multiples of the mug, modify the ‘Repeats’ under ‘Design Files’ and then add spacing between the two copies.
- For this project, you can use the preset ‘Stainless Steel Drinkware’.
- Make sure that the media size and type match what you have loaded in your printer.
- On the Color Management tab, we suggest having the Color Mode set to ‘Vibrant’.
- Once you’ve confirmed your settings, click ‘Print’.
How to Press It:
- Ensure your press is turned on. If you are using a tumbler press, set the temperature to 390 degrees Fahrenheit and the time to 250 seconds. Pressure should be set to Medium.
- Prepare your mug by using a lint free cloth and alcohol to wipe away any fingerprints or dust.
- After you have taped your design to the mug, use a silicone wrap to give you an even pressing surface.
- If you are using a mug press, you’ll need to put the mug in upside down.
- Once the press is closed, wait for the timer to count down.
- When the timer is completed, carefully remove the finished product!
Tips & Tricks:
- A silicone wrap helps give an even pressing surface so you do not have to worry about the lip of the mug.
- You can use a mug press, tumbler press, or convection oven for this project.